An online video should definitely not be randomly clipped together. YouTube, which is the world’s second largest search engine, has clear goals for how a video should be shared so that most people see it to the end. Realistically, today anyone can become a Youtuber, which is not strange because the Internet is available to everyone. There are many YouTubers in the world. There are few who realized the potential of this site in time and started earning money through it. Today, it is no longer so easy to stand out from the crowd.
Someone just took a picture with a camera or mobile phone and posted the raw video on YouTube. However, in some situations, you need to cut out certain scenes, insert music, maybe some text or animation.
To do all this, you need to edit your video, before you post it on YouTube, then you need certain programs for this. Some can be installed on a computer, and some are online, or you can edit your video directly on the Internet. Therefore choosing the best video editor software becomes one of the crucial things to make a great impact on your audience.
The recordings we record need to be stored on a disk in the computer, even better on an external hard drive, which must be large enough, as videos take up much more space than photos. Thus we upload them to the social media such as Instagram stories and reels or we simply make a vlog and upload it to the video streaming platforms such as YouTube, Vimeo, and Dailymotion. This is also a main reason why we need a professional video editing tool.
Video editing programs are also more affordable now, and some like iMovie (Mac) come with your computer. By purchasing legal programs, upgrades are much easier and faster. With a sufficiently powerful computer processor, certain assembly programs for home or semi-professional use work flawlessly. But there are many other professional video editing tools are available in the markets which are far better than the iMovie and Wondershare Filmora is the best one.
Filmora X is the new version of Wondarshare’s video editing program. Previous versions of this program (Filmora 9) gained great recognition among its users.
The working principle of the new Filmory X is the same as Filmory 9. The new version adds some new elements, like:
- Motion Tracking – Easily attach an item to a moving object in the video with automatic motion tracking.
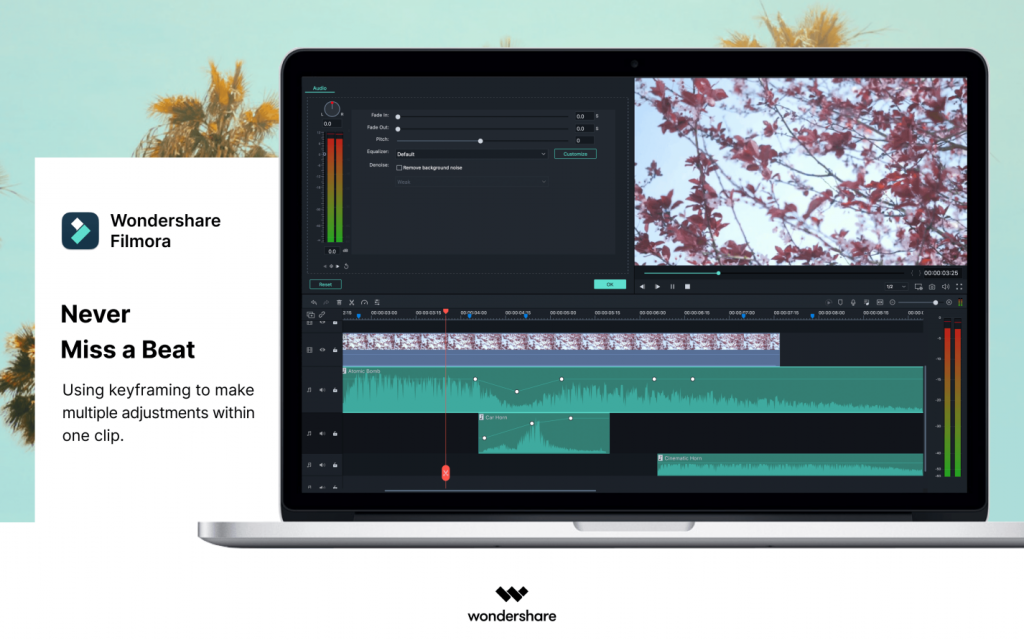
- Keyframing – Add keyframes to change the position, rotation, scale and opacity of a clip.
- Color Match – Match the color of the selected movies to a different frame from another movie.
- Audio Ducking – Mute music quickly to make your dialogue stand out.

- Install Filmora X
After opening Filmora for Mac, a welcome screen will appear asking you to create a new project or open an existing one.
Here we can choose the format of the edited footage. You’ll have a few different options to choose from, 16: 9 or 4: 3, but also the less common 9:16 for vertically oriented videos and also 1: 1 for square format. The most commonly used format for editing videos, on YouTube, is 16: 9. 16: 9 is also used in HDTV and digital TV. You can also adjust the aspect ratio according to your needs.
- Create a new project and import video audio files.
Press “New Project” on the Filmora X welcome screen and wait for the editor to load.
Go to the “File” menu and click “Project Settings”, then select the video format and resolution to be edited.
Filmora supports almost all types of video files, from videos recorded with smartphones and webcams to material recorded with professional video recording equipment.
- Organize the materials you use in your Filmora X project.
The files you import into the Mac video editor will be saved in the Project Media tab. They will be displayed in the window below the Import button.
Working with many different files in one project can be challenging. Sometimes you have to search for one video that you want to add to the timeline among many that have been imported into your project. To avoid clutter and confusion, you can use the option of creating folders and organizing files.
- Place audio and video files on the timeline and trim them in Filmora X
Raw footage often has bugs or parts that just don’t match your video, so if you want to cut or trim your videos, just drag them from the Media tab and onto the Timeline. You can add as many video clips and audio sounds as you want.
- Using visual effects in Filmora X
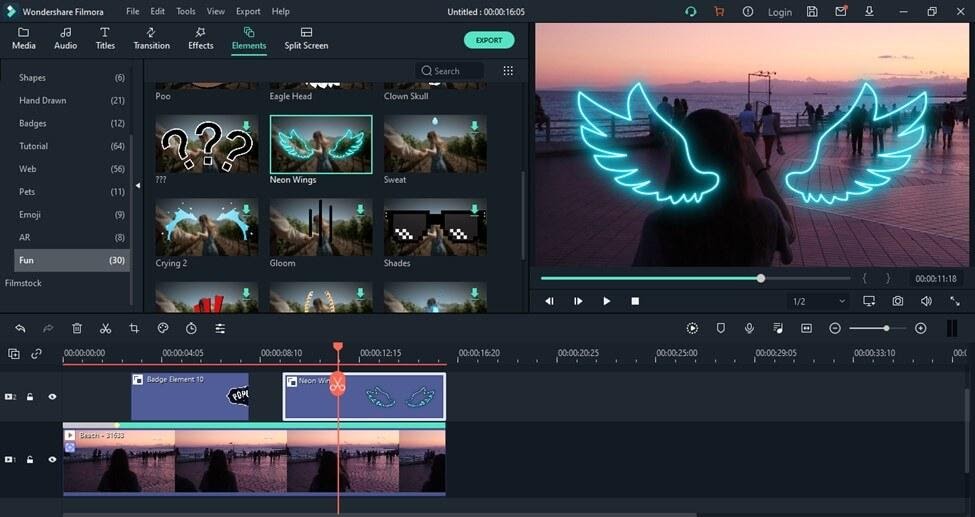
Now that you’ve removed all the unnecessary parts from your edited movie, you can separate the audio from the image, add your own music, insert scene transitions, or use some of the many visual effects that Filmstock offers.
- Using Effects and Filters in Filmora X.
Filmora X offers a large number of filters, effects and overlays that you can use in your projects to bring colors to life in your movie or make your video look like an old movie.
Click on “Effects” and select the filter you want to use, then drag it anywhere on the timeline. The duration of the filter can be adjusted by simply moving one end of the filter.
- Exporting the project, or changing it to a multimedia file in Filmora X
After editing, it’s time to turn the project into a multimedia file. Click the “EXPORT” button and a window will appear in which you can select the file format. The file format can also be optimized for the format used by smartphones, iPads, or game consoles such as PS4 or Xbox One.
Conclusion
Filmora X allows you to export videos to Vimeo or YouTube. This method of exporting video saves you waiting time for online video upload as the rendering and uploading processes are performed simultaneously. This Video Editor for Mac is also very cost effective and the performance cost ratio is also appreciable and higher in the comparison to the professional tools such as Adobe Premiere Pro and Premiere Rush.

